
It takes you about twenty minutes and a pencil to create a drawing of a haunted house, and the secret is not in details, but in making several mistakes on purpose when depicting a few shapes.
The twelve steps are below, all of which consist of only straight lines and curved ones, hence suitable for everyone no matter how old they are.
Materials you need:
- Pencil, preferably HB for drawing the rough shapes and 2B or 4B pencil for shading
- Eraser, preferably kneadable if you have one
- White paper, either A4 or letter size, in portrait format
- Fineliner or black pen if you want to make ink sketch at the end
- Optional – ruler, although free hand lines suit this theme better
| At a glance | |
| Time | About 20 minutes, or 40 if you shade it properly |
| Difficulty | Beginner. No perspective drawing needed |
| Best for | Ages 8 and up, Halloween projects, card designs |
| Style | Second Empire, the classic haunted house shape |
| Hardest step | Step 6, the windows, because spacing is everything |
Why haunted houses look the way they do
Take thirty seconds before you begin. Most instructions on drawing a haunted house don’t cover this step at all, but it’s the reason why most completed drawings end up looking like an ordinary cottage.
Every haunted house in movies and cartoon is actually the same exact real architectural style: Second Empire, an American Victorian style from the 1860s and 1870s. It has a distinctively-shaped roof called a mansard roof, with steep sides ending in a flat top, giving it the distinctive top-heavy silhouette. The house in Psycho is one. The Addams Family house is another. Those buildings were abandoned when everything else got more modern, and an entire generation grew up associating them with abandoned houses.
You’re not drawing an imaginary house. You’re drawing a specific real architectural style, and the closer you get to the silhouette of that house, the more haunted your final drawing will seem without even needing a single bat added.
The twelve steps
Step 1: Draw the ground line
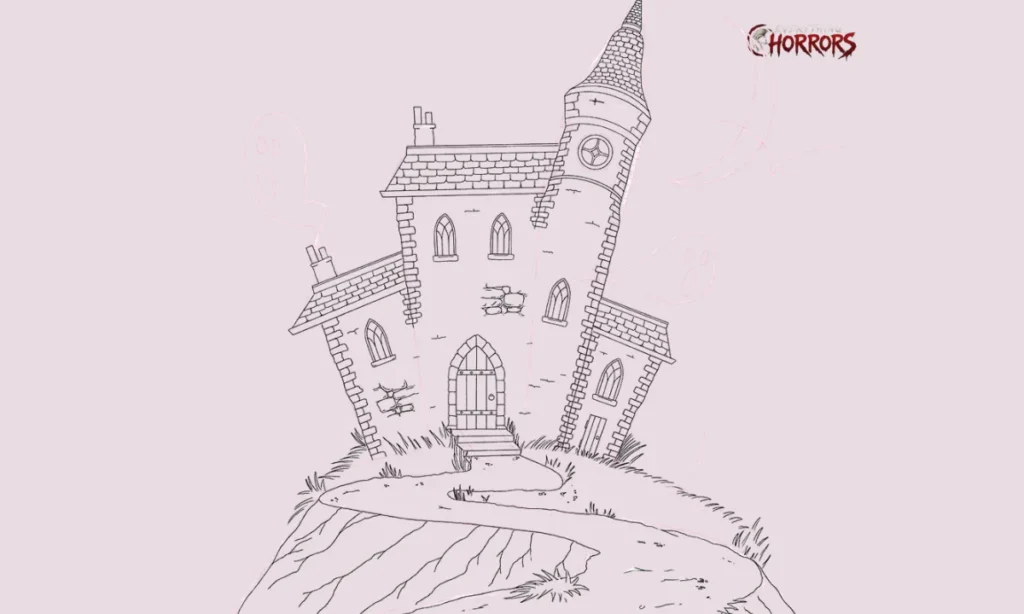
A horizontal line in the lower third of the page, slightly wavy. Not perfectly straight. This is your ground, and everything else sits on top of it.
Step 2: Block in the main body
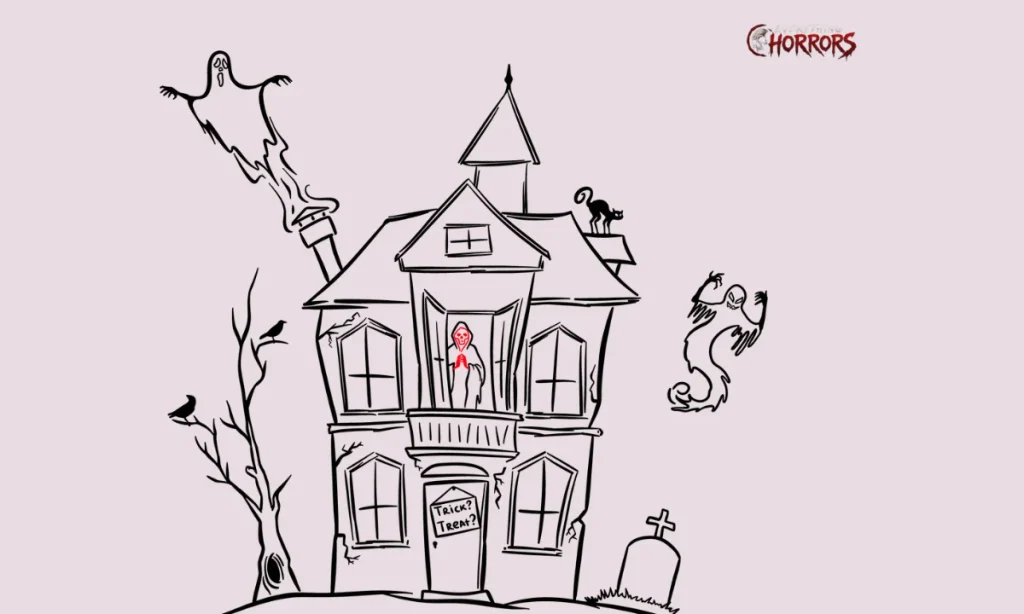
A tall rectangle sitting on the ground line, wider than it is tall. It tilts at about two degrees, very slightly. Just enough for it to look wrong to the eye without quite knowing why. That one tiny decision does more work than all the other steps put together.
Step 3: Add the mansard roof
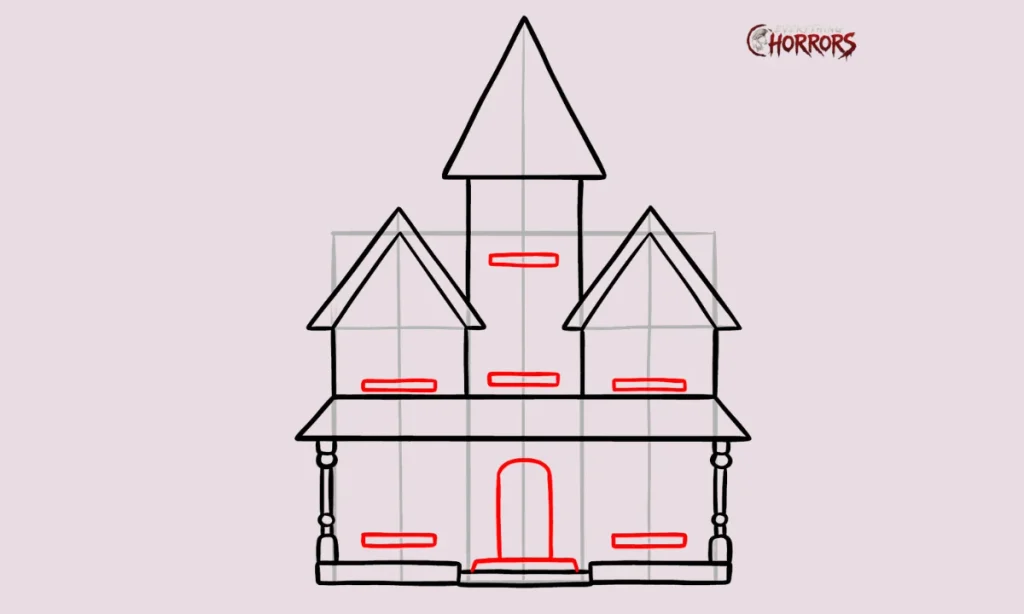
A trapezoid with steep sides and a flat top sitting on top of the rectangle. Make it heavy, about a third as tall as the body below. A roof that’s bigger than it needs to be for the house is exactly what you want.
Step 4: Add the tower
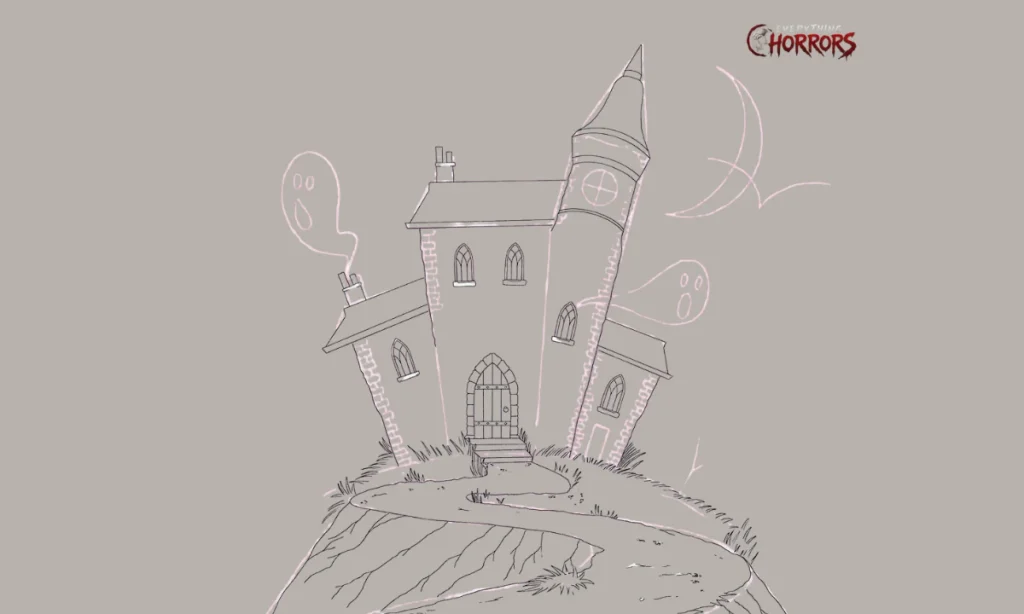
A skinny vertical rectangle attached to the left or right side, taller than the main roof. It ends in a point, a sharp cone. It’s never symmetrical. Asymmetry is doing all the work in this drawing.
Step 5: Add the porch
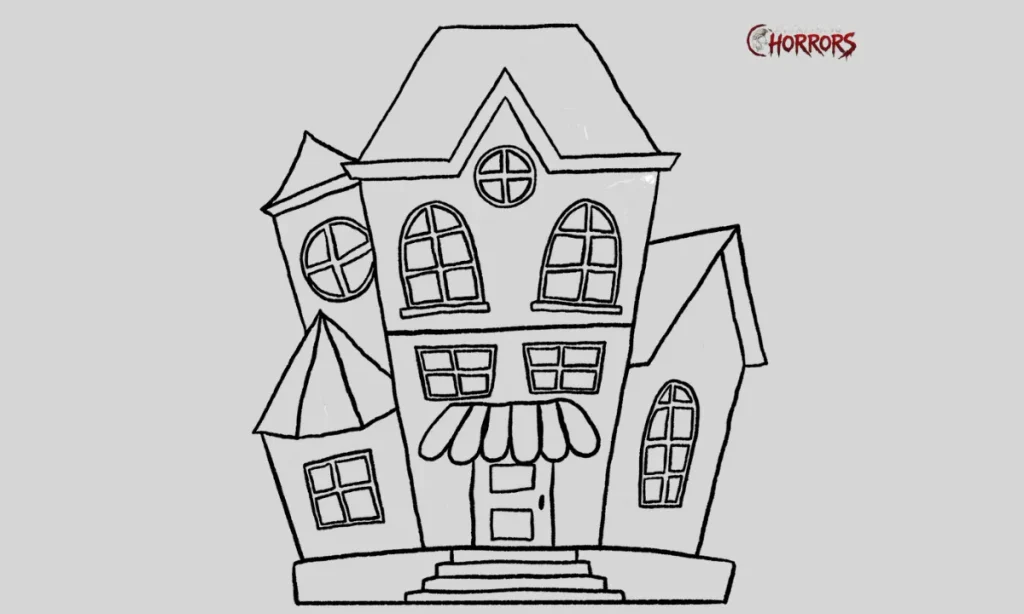
A low horizontal rectangle across the front of the body, with three or four vertical posts supporting its roof. Make one post shorter than the others so the porch roof dips to one side. Add three steps from the porch down to the ground.
Step 6: Add the windows
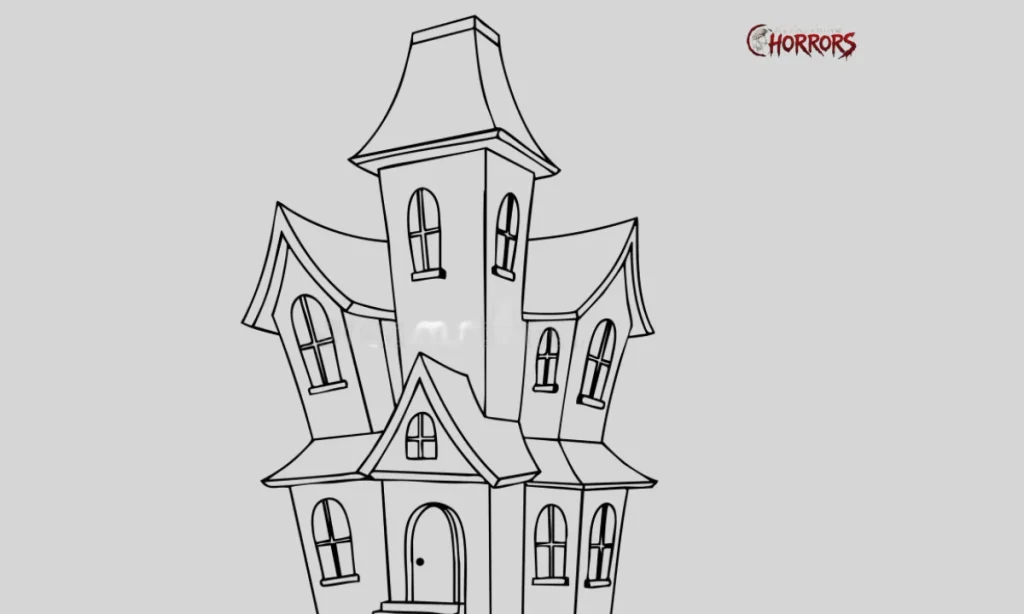
This step determines whether or not this drawing will work. Draw five or six tall, narrow rectangles with slightly curved tops. Two on the bottom level, two or three on the top level, and one on the tower. Now break the grid. Real windows align themselves in perfect grids. Your windows need to have one off-centre by half a window width, and one distinctly smaller. Cover two of them with three planks of wood. Make them black windows instead of detailed windows, because a black window means an empty window, which is your whole point.
Step 7: Add the door
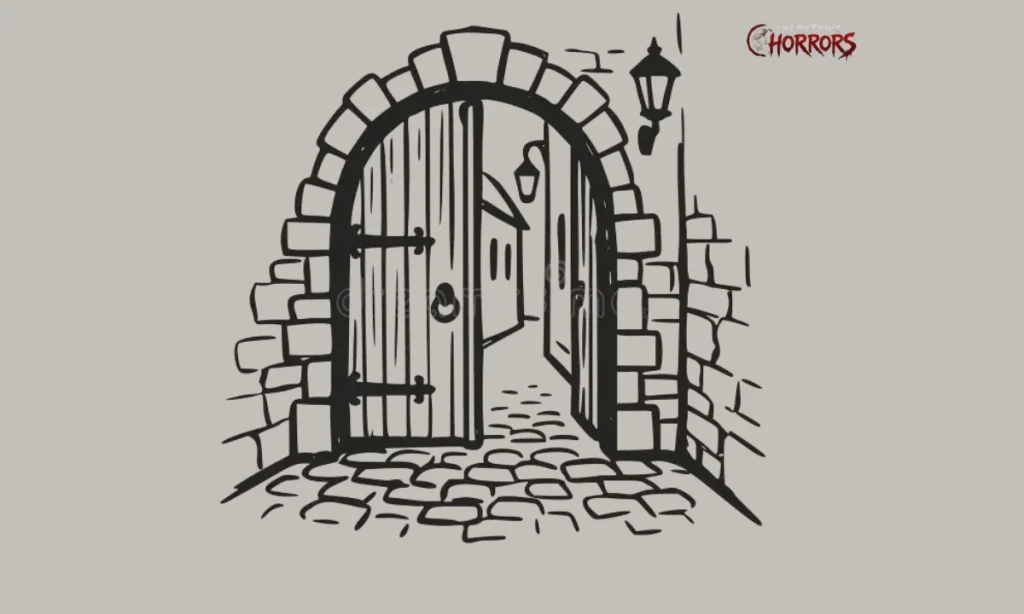
A tall, narrow rectangle with a slight curve across the top, directly under the porch. It is slightly ajar. Draw a black line down one side showing the crack in the door. A closed door is just part of a building. A slightly-opened door is a story.
Step 8: Break the roof line
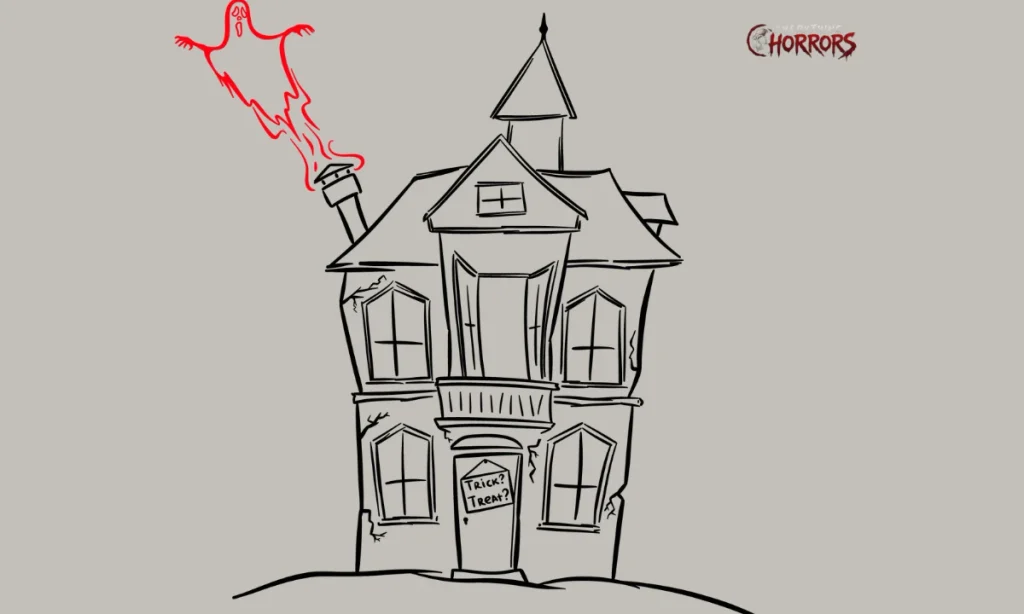
Go back and make the top edges ragged. Nick out some shingles on the mansard roof, carve a small notch on the cone of the tower, and place a leaning chimney on the far side that leans the opposite way of the rest of the house. A chimney with two or three loose bricks on top sells it right away.
Step 9: Add the fence
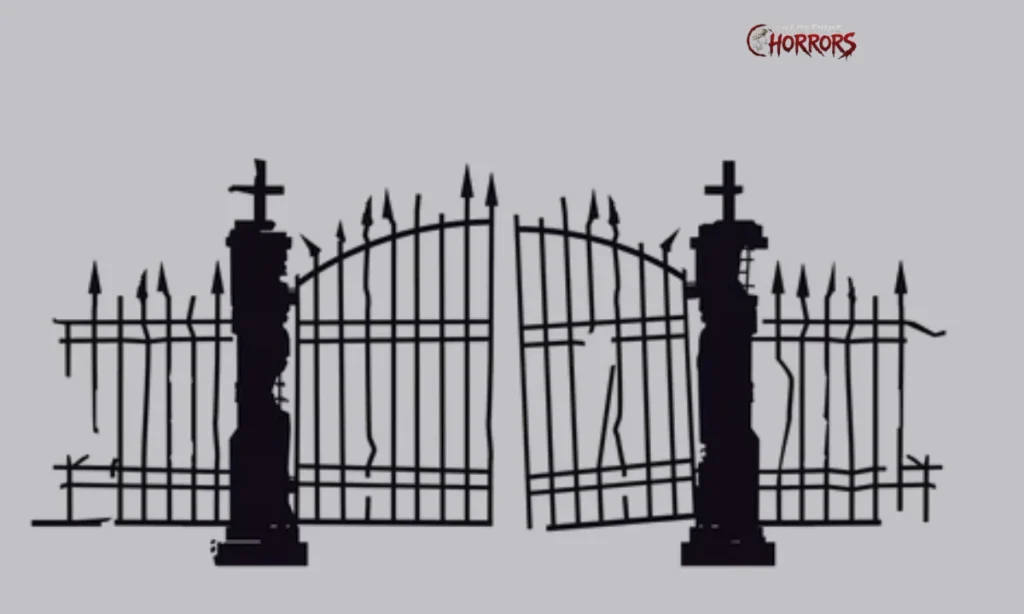
A line of vertical poles going across the foreground, with two rails of poles behind them. Leave two or three of the poles completely out of the design, and angle one pole. Add a gate hanging off its hinges.
Step 10: Add the dead tree
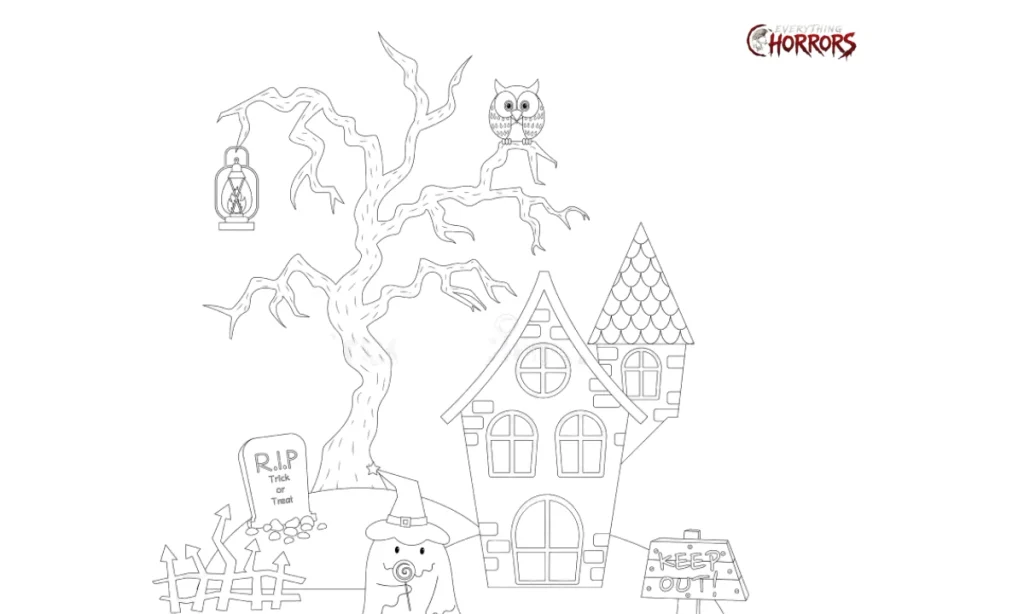
To one side, a large vertical trunk split into three or four branches, with each of those branching into thinner ones. There are no leaves. To make a tree look right, remember that every branch has to get thinner each time it splits, and they can never follow the same curve twice.
Step 11: Add the sky
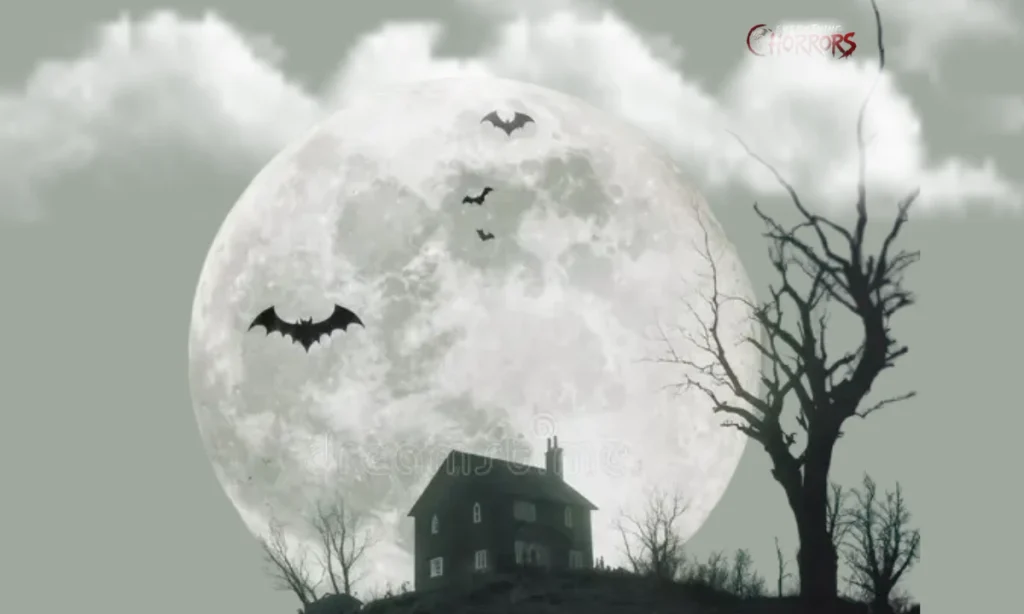
A full moon behind the house, in such a position that the tower crosses it. Several long horizontal strips of cloud blocking out parts of the moon. Three or four bats, simply drawn as flattened ‘M’ shapes of varying sizes to imply distance.
Step 12: Ink and shade
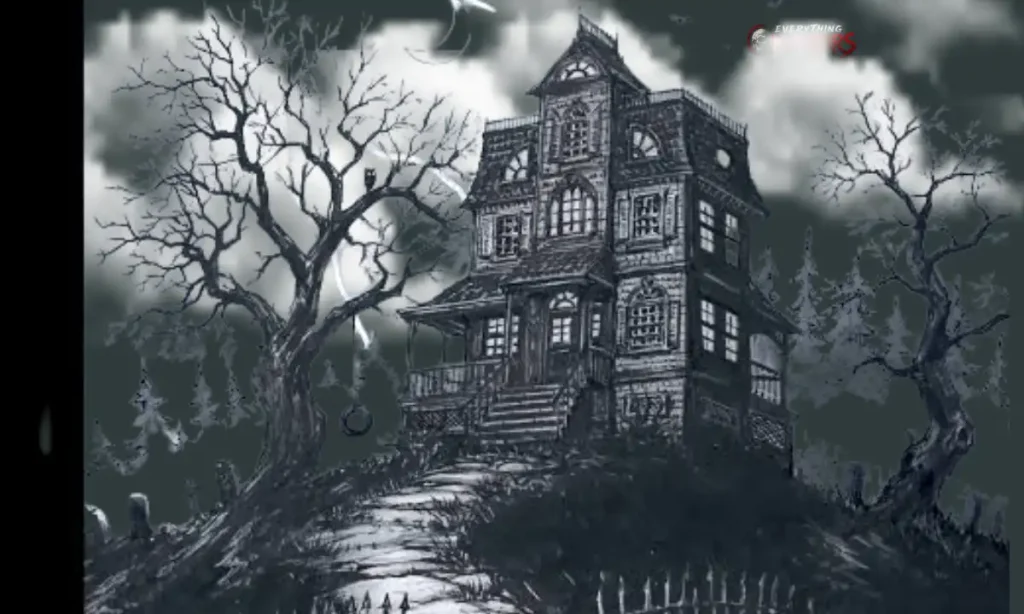
Go over all the lines you want to keep with the fineliner, then erase the underlying pencil lines after it dries. Color in all the windows except one or two which will remain pale to suggest they’re lit up. Shade the side of the house that the moonlight doesn’t touch, and cast a shadow on the ground.
Shading, and how to make it look properly wrong
Almost everyone finishes how to draw a haunted house tutorial with something that looks like an old house rather than a scary one. Here are four corrections, in order of their significance.
Shade the house underneath. Sun always lights things from the top, and shading the underside of all the ledges, the porch roof and the eaves, and leaving the tops light results in the effect of the torchlight put under the chin of someone. This lighting does not occur in nature, and our brain recognizes this.
Leave only one window white. An empty house is dark everywhere, and a pale window means that there is somebody inside.
Darken the darkest parts appropriately. The beginner always shades everything with light grey and the drawing becomes flat. Go deeper into the shading and leave the moon and one wall as the blank paper.
Leave the vertical lines slightly non-vertical. When all lines are straight, the building appears well taken care of. Add a half degree of the lean to the posts, the fence and the chimney.
Haunted House Drawing Ideas You Can Try Next Time
Once you know how to draw the basics, it takes about five minutes to transform it into something else.
- Replace the mansard with a gable roof and the wrap-around porch for the Southern plantations
- Draw it during the daytime with the flat grey sky. This is even more scary than the moonlight.
- Move it onto a hill with a long path and a gate at the end of it, and draw it from below.
- Draw only the upper two floors and the roofline. Crop the picture tightly.
- Add a tiny figure inside one of the upstairs windows. It should be no bigger than a fingernail.
- Add its reflection in floodwater in the foreground. The reflection should be slightly deformed.
- Draw it in a cartoon style. Lean the building at least at thirty degrees, bend the tower and give the porch a smile.
Common Mistakes That Flattens the Drawing
- Too many details too soon. First of all, draw the shape.
- Symmetry. If the left and the right sides of your drawing are identical, you have created a doll’s house. Change something on one side.
- Small roof. All newbies tend to draw the roof too small. Make the roof too heavy, and everything will improve.
- Grey everything. Absence of the true black means absence of the depth.
- Too many things in the sky. Two bats are scary. Fifteen bats look like a pattern on the wrapping paper.
Frequently asked questions
How long does this take?
Around twenty minutes for the line drawing and another twenty if you shade it fully. A first attempt usually runs longer, and a second attempt is almost always noticeably better, so do two.
Can young children follow these steps?
Yes, from about eight upward with no help. Younger than that, skip steps 8 and 12 and let them colour it in instead. The shapes themselves are all rectangles, triangles and straight lines.
Do I need to know perspective?
No. This is drawn flat, straight on, which is how most classic haunted house illustrations are composed anyway. Adding perspective makes it harder without making it scarier.
What makes a house look haunted rather than just old?
Asymmetry, a roof too heavy for the building, black windows and lighting from below. Any two of those four will do it. Cobwebs and bats are decoration, not the effect.
Can I do this digitally?
Every step works the same in Procreate, Krita or any tablet app. Put the rough shapes on one layer and the ink on another, and use a hard round brush so the lines stay crisp rather than soft.
What real house should I look at for reference?
The Bates house from Psycho is the clearest example of the Second Empire silhouette. Search photographs of real Second Empire homes from the 1870s and you will see where every cartoon haunted house came from.